Crème Brûlée: The French Secret You Can Master at Home
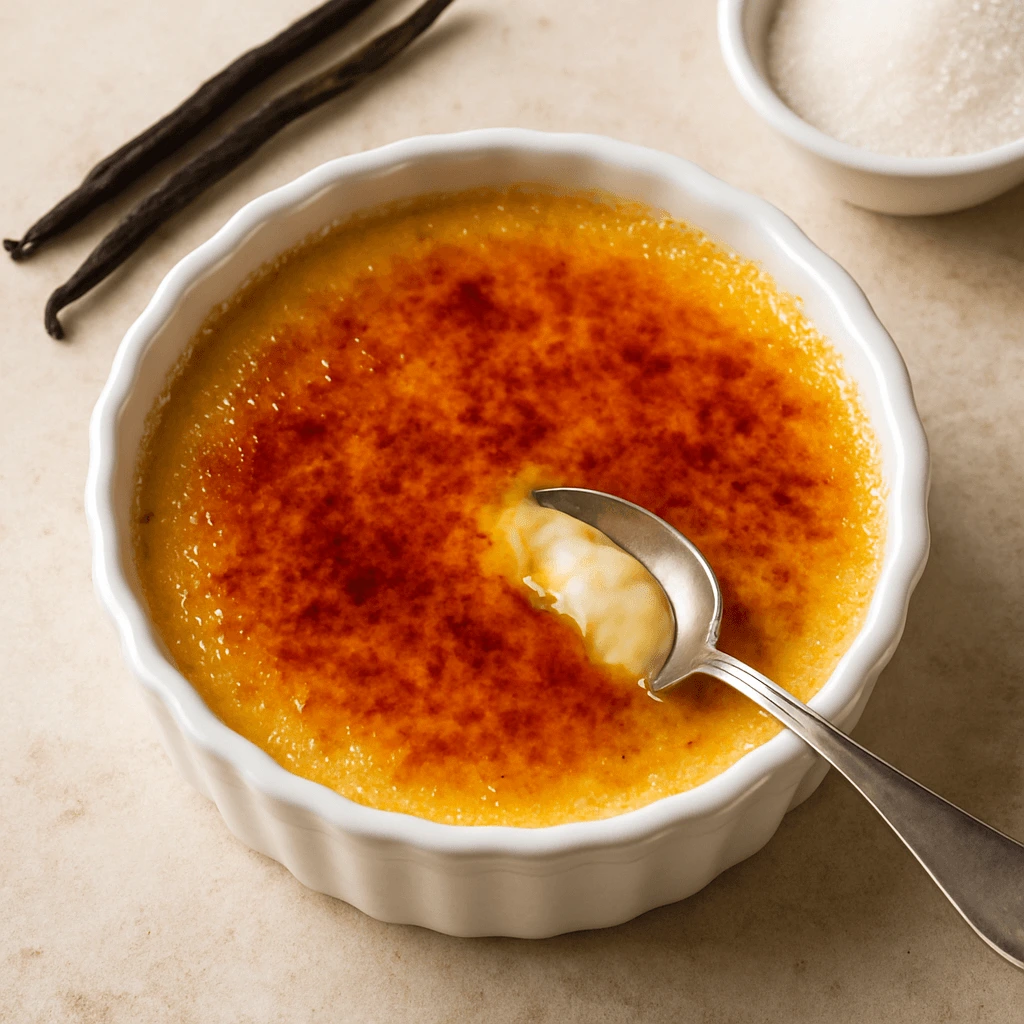
crème brûlée French secret Crème brûlée is a timeless and exquisite French dessert that embodies the elegance of simple yet sophisticated flavors. Its name, which translates to “burnt cream,” reflects the duality of its texture and flavor profile: a rich, velvety custard base with a perfectly caramelized sugar topping that adds a satisfying crunch to … Read more