how to make marshmallows
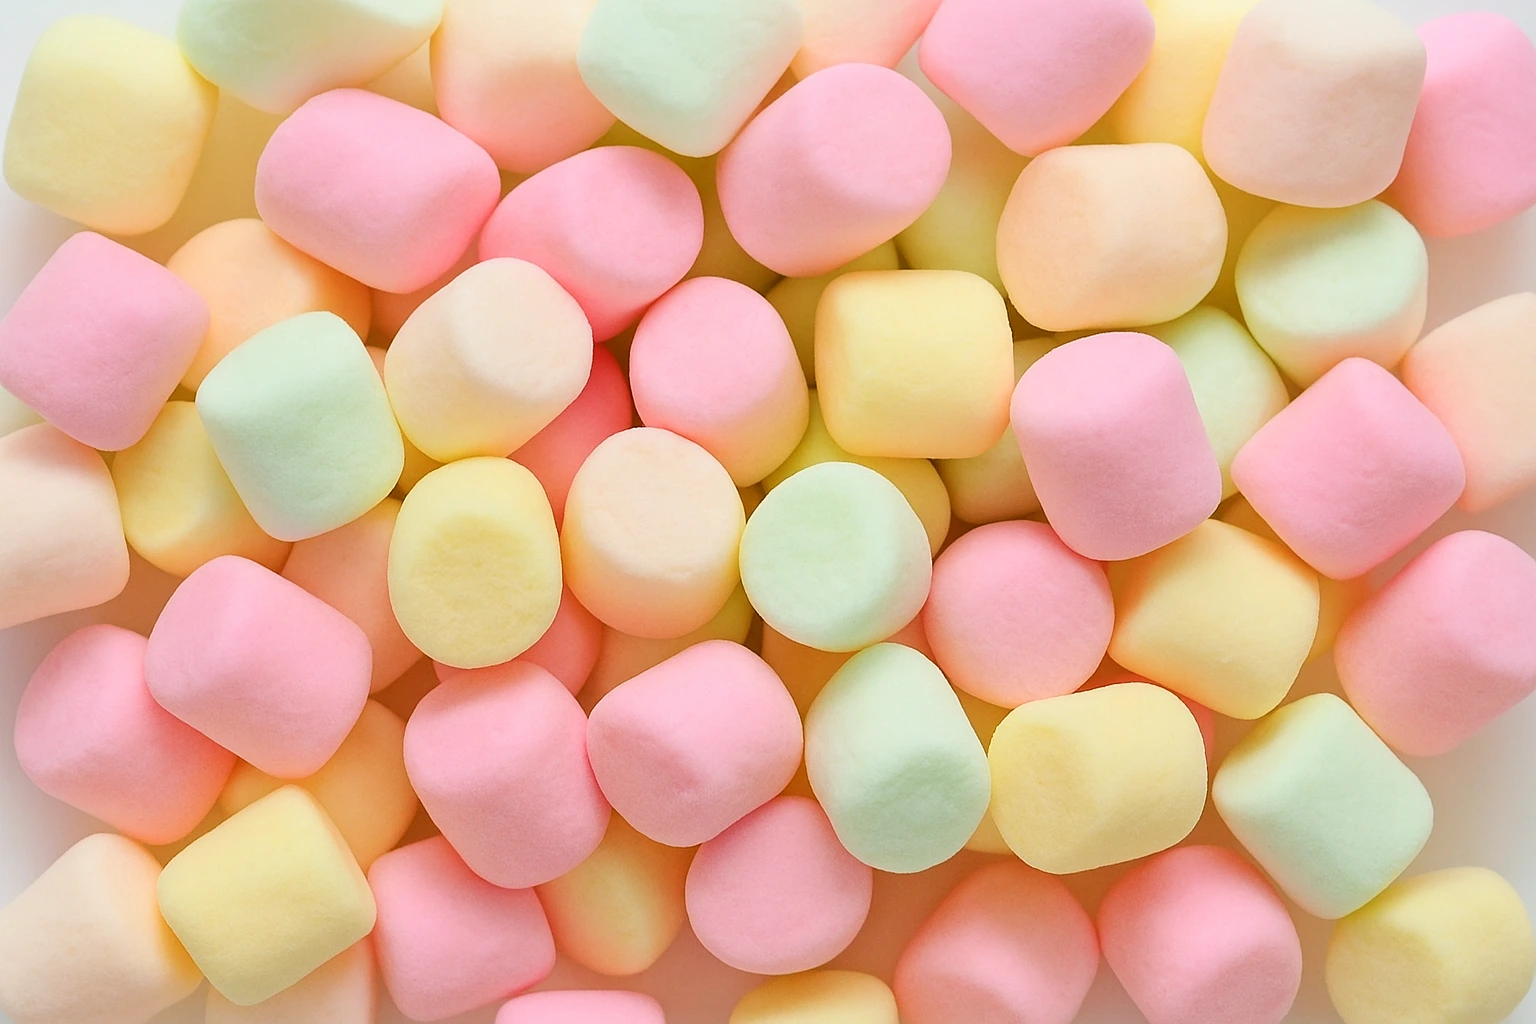
Soft, airy, and delightfully melt-in-the-mouth — marshmallows are more than just candy. They’re a sensory experience, a nostalgic memory, and a comforting bite of pure sweetness. With their delicate fluffiness and subtle flavor, marshmallows instantly transport us — to childhood afternoons, cozy bonfires, or festive dessert tables.
Yet behind their innocent appearance lies a fascinating story. Marshmallows have come a long way from their origins. Originally crafted from the root of the marshmallow plant — a medicinal herb used in ancient times — this treat has evolved into a beloved confection enjoyed around the world. From pillowy cubes dusted in sugar to high-end gourmet variations infused with vanilla, fruit, or exotic spices, marshmallows are constantly being reimagined.
Whether enjoyed on their own, melted into a mug of hot chocolate, toasted golden over an open flame, or layered into elegant pastries, marshmallows adapt to every occasion. Their irresistible texture — somewhere between a foam and a chew — makes them one of the most playful elements in modern sweets. Pastry chefs love to elevate them, kids can’t get enough of them, and even adults secretly sneak a few from the jar.
In this article, we’ll take you behind the scenes of homemade marshmallows: the magic of their texture, what makes them so unique, and how you can create your own version at home. It’s a recipe that balances precision with creativity, yielding a result that’s as fun to make as it is to eat.
Homemade Marshmallow (French Style) – Step-by-Step Recipe
Ingredients
- 260 g granulated sugar
- 100 g water
- 160 g trimoline (invert sugar) – for the cooked syrup
- 120 g glucose syrup
- 170 g trimoline – to be added to the bowl
- 36 g gelatin (sheets or powder), pre-soaked in cold water
- Optional: natural flavoring (vanilla, fruit purée), food coloring, or coating mix (cornstarch + icing sugar)
Cook the syrup to exactly 126 °C (259°F) for the perfect texture.
Equipment You’ll Need
- Stand mixer with whisk attachment
- Saucepan
- Sugar thermometer
- Silicone spatula
- 20×20 cm mold (or flexible frame)
- Parchment paper or greased plastic sheet
- Sieve for coating
- Optional: piping bag for shaping
Step-by-Step Instructions
1. Prepare the Gelatin
Soak the gelatin in very cold water for about 10 minutes until softened. If using powder, bloom it in five times its weight in cold water.
2. Start the Syrup
In a saucepan, combine:
- 260 g sugar
- 100 g water
- 160 g trimoline
Heat on medium heat. Once it reaches 110 °C, add the 120 g of glucose syrup.
Keep cooking the mixture until it reaches 126 °C. Do not stir after 110 °C to avoid crystallization.
Pro tip: Use a clean, wet brush to wipe down the inner walls of the pan to prevent sugar crystals.
3. Set Up the Mixer
In the stand mixer bowl, place:
- The remaining 170 g trimoline
- The drained gelatin
Start mixing gently at low speed just to combine.
4. Cooked Sugar Meets Gelatin
Once your syrup reaches 126 °C, immediately pour it in a thin stream into the mixing bowl while whipping on medium-high speed.
Continue to whip until the mixture becomes thick, glossy, and lukewarm (about 35–40 °C). This may take 8–10 minutes.
Don’t overwhip! The mixture must stay pourable. If it gets too stiff, it’ll be hard to mold.
5. Mold or Pipe
Quickly pour the mixture into a prepared mold lined with parchment or greased plastic. Smooth the top with an oiled spatula if needed.
Alternatively, use a piping bag to make shapes or ropes.
Let set at room temperature for 8 to 12 hours, uncovered.
Final Touch: Coating
Once set, unmold and cut into cubes or desired shapes using a sharp knife or scissors lightly oiled.
Toss pieces in a 1:1 mix of cornstarch and icing sugar to prevent sticking. Sift off excess.
Variations and Tips
- Add natural vanilla, rosewater, or raspberry purée for flavor.
- Use gel food coloring for swirls or pastel tones.
- Dip in melted chocolate or use marshmallows in layered desserts, hot drinks, or homemade s’mores.
Storage
Keep marshmallows in an airtight container at room temperature for up to 2 weeks. Avoid humidity.
Do not refrigerate — moisture will ruin the texture.
Conclusion – More Than Just Fluff: Rediscovering the Magic of Marshmallows
Homemade marshmallows are more than a sweet treat — they’re a craft. A blend of precision, timing, and creativity that brings an airy texture and fresh flavor you simply can’t get from store-bought versions. Whether you want to recreate a childhood memory or surprise your guests with something unique and melt-in-your-mouth delicious, this recipe opens the door to a whole new world of confectionery.
What makes homemade marshmallows truly special is their versatility. You can personalize them with natural flavors, colors, even shapes. They’re just as at home in a cup of hot chocolate as they are on a dessert platter or nestled inside a gift box. And once you’ve tried them, there’s no going back — you’ll understand why pastry chefs and home bakers alike are so passionate about making them from scratch.
More than a recipe, making marshmallows is an experience: it teaches patience, attention to detail, and the joy of transforming simple elements into something enchanting.Link to storage and preservation tips section (internal anchor): “Read more on how to store your marshmallows properly.”Link to a culinary glossary for terms like glucose, blooming, or soft ball stage
FAQ – Your Marshmallow Questions Answered
Q: My marshmallows turned out sticky or too soft — what went wrong?
A: This usually means the syrup wasn’t cooked to the correct temperature. Make sure you reach exactly 126°C (259°F). A reliable sugar thermometer is essential.
Q: Can I use honey or maple syrup instead of trimoline or glucose?
A: These alternatives can work for flavor but may affect texture. Glucose and trimoline are used for their anti-crystallization properties and elasticity. If replacing, adjust expectations accordingly.
Q: How do I store homemade marshmallows properly?
A: Keep them in an airtight container at room temperature, ideally in a dry place. Don’t refrigerate them — humidity will ruin their light, fluffy texture.
Q: Can I make a vegan version?
A: Yes — you can use agar-agar, but the process and texture will be different. It’s a more advanced version that needs precise ratios and fast setting.
Q: Are marshmallows hard to make for beginners?
A: Not at all — as long as you follow the steps carefully and respect the sugar temperature, success is within reach. It’s a great entry point into candy making.