Moist, Aromatic, Irresistible: 2 Secret Earl Grey Cake with Tea, Zest
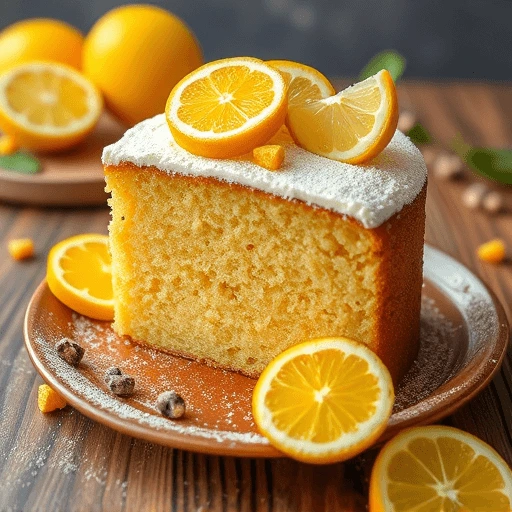
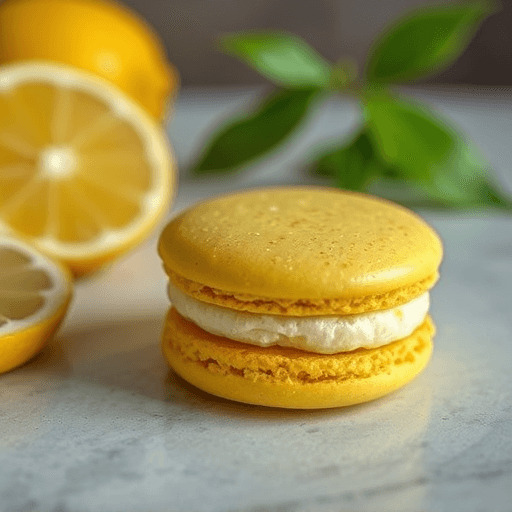
There’s something undeniably enchanting about a lemon cake. With its radiant golden hue and invigorating citrus aroma, it brings a sense of brightness and refinement to even the most ordinary day. Whether served at an afternoon tea, a springtime brunch, or as the centerpiece of a celebration, this classic cake has the power to elevate … Read more