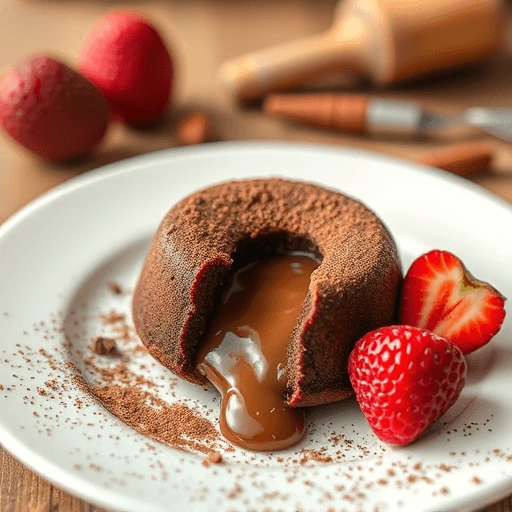
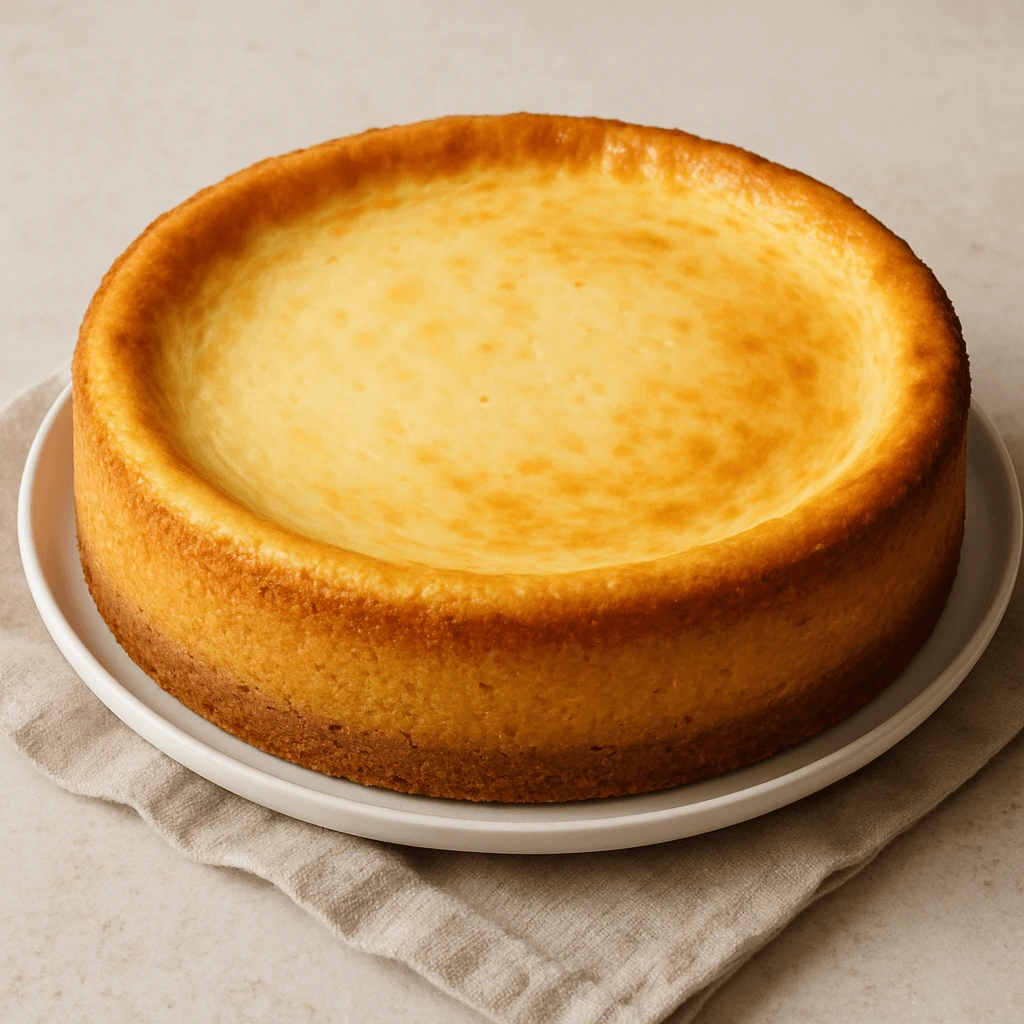
Master the Art of Crème Caramel – A Silky Classic with a Golden Secret

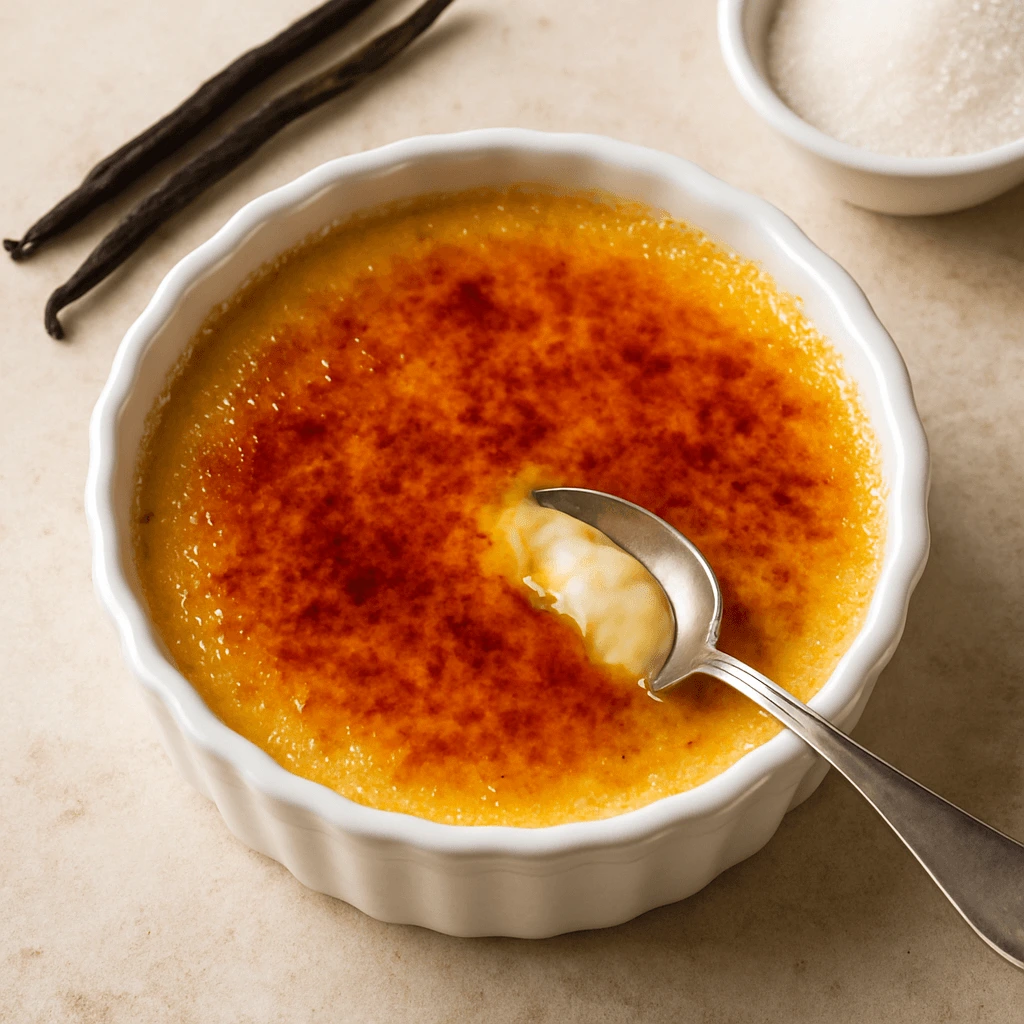
crème caramel recipe This classic custard treat is all about elegance in simplicity. With its smooth, creamy texture and delicate layer of shimmering caramel on top, it offers a perfect balance between sweetness and subtle bitterness. Each spoonful melts in the mouth, delivering a rich and velvety experience that lingers gently on the palate. What … Read more