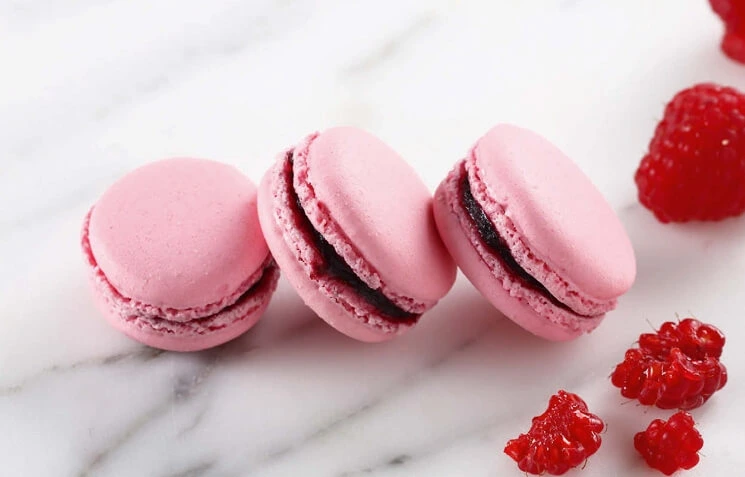
Secrets Wrapped in Sweetness: Salted Butter Caramel Macarons
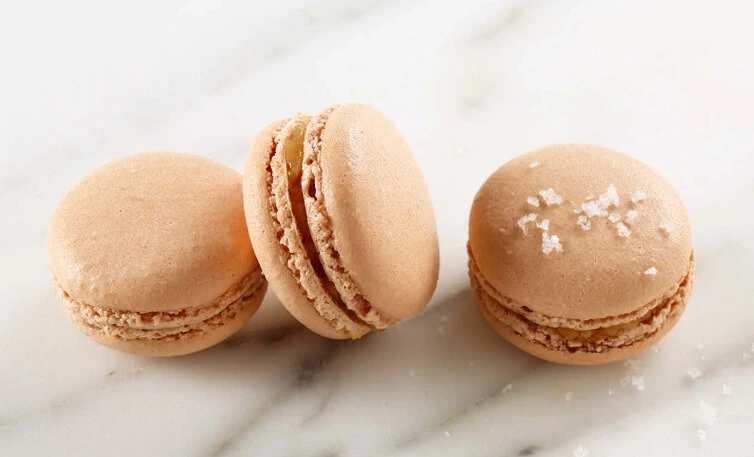
Salted Caramel Macarons recipe Salted butter caramel macarons are a sublime marriage of delicate textures and rich flavors, showcasing the art of French pastry at its finest. These little gems begin with the quintessential macaron shell — smooth, glossy, and perfectly crisp on the outside, giving way to a tender, chewy interior. Achieving this flawless … Read more