Have You Ever Tasted an Avocado Macaron? Prepare to Be Surprised!
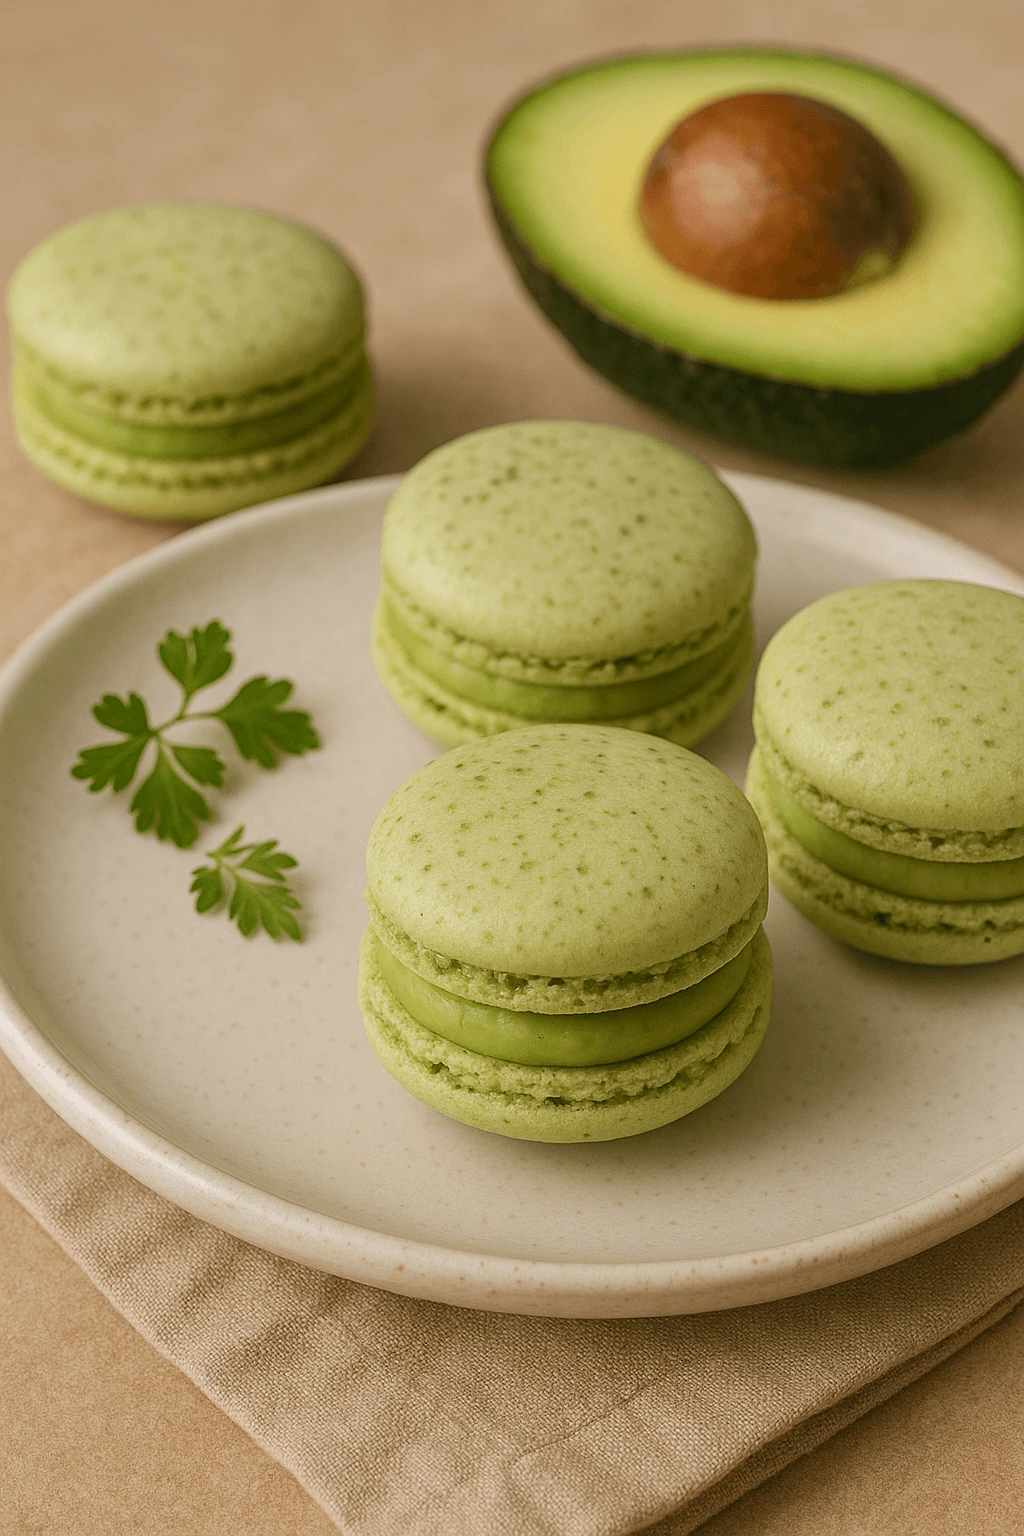
avocado macaron recipe Macarons, those little marvels of French patisserie, continue to astonish and delight with their lightness and airy texture. However, beyond the classic chocolate or raspberry ganache macarons, a bolder variation has emerged: the salty avocado macaron. This creation blends the elegance of a high-end dessert with the freshness and delicacy of a … Read more