6 Chef’s Secrets – What You’ve Always Wanted to Know About Tiramisu
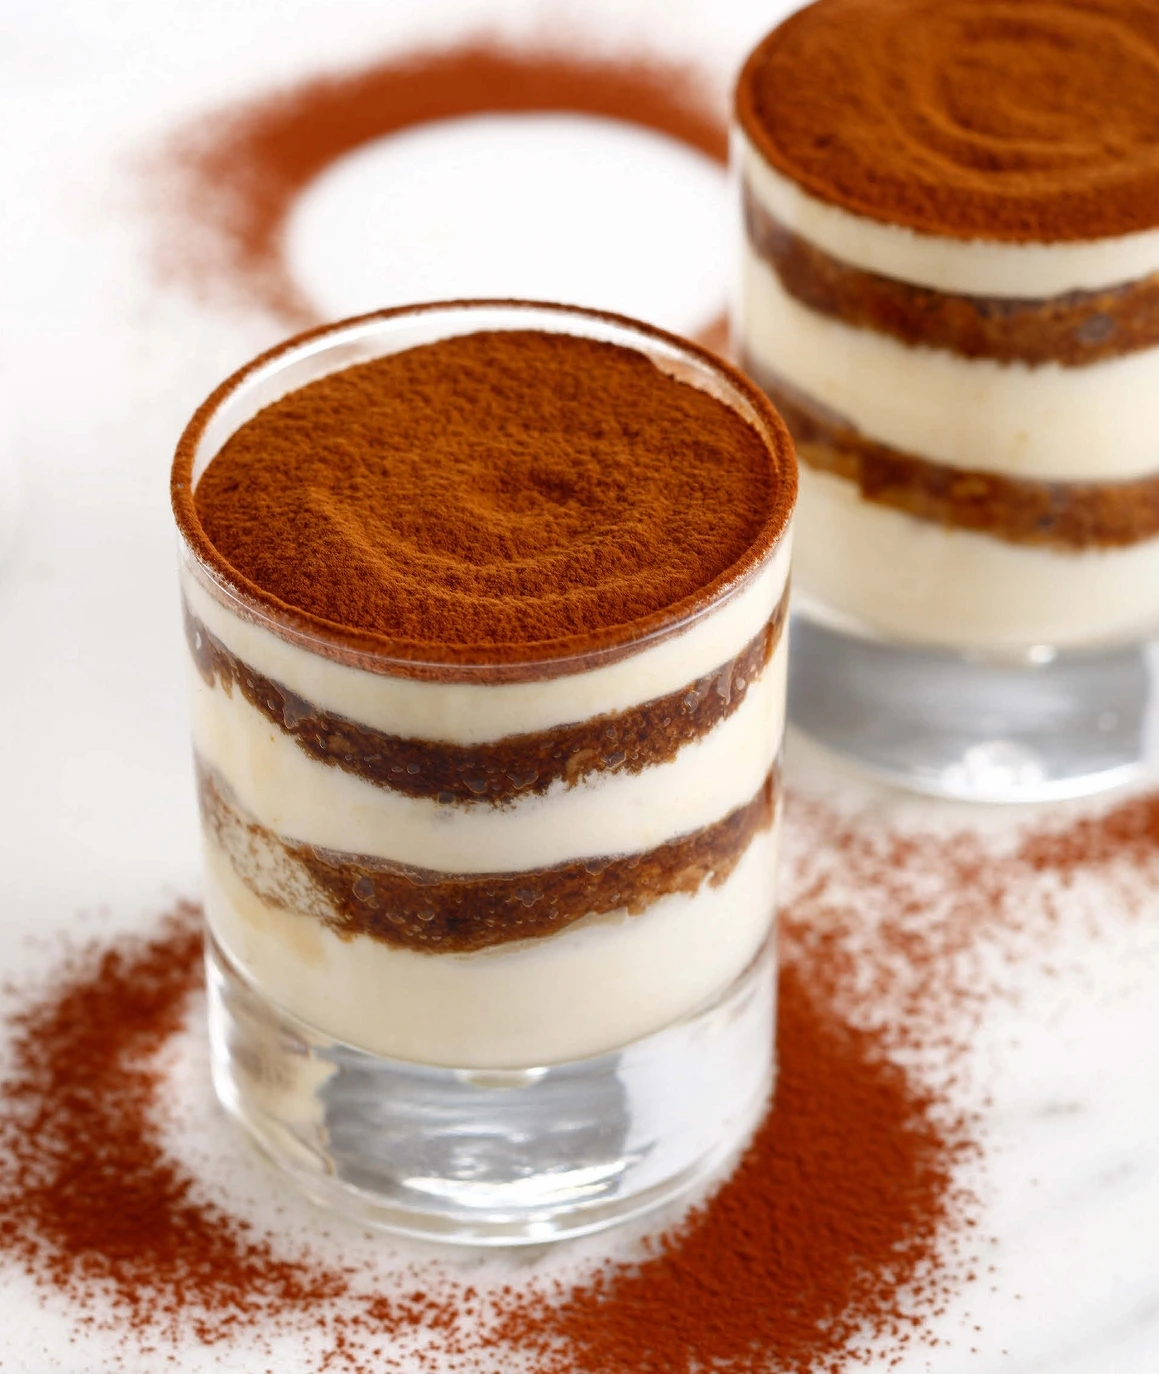
Tiramisu secrets Few desserts capture the imagination quite like tiramisu. With its name translating to “pick me up” in Italian, this beloved treat is more than just a finale to a meal—it’s a celebration of contrasts, textures, and traditions that have endured through generations. From the intimate cafés of Treviso to the fine dining tables … Read more