Soft Milk Rolls
Light as a cloud, golden as morning sunlight, and delicately sweet without ever being heavy—pains au lait are the quiet charmers of the French boulangerie. Often overshadowed by their more flamboyant cousins like croissants or brioches, these humble milk rolls embody everything that makes French baking so irresistibly refined: simplicity, softness, and subtlety.
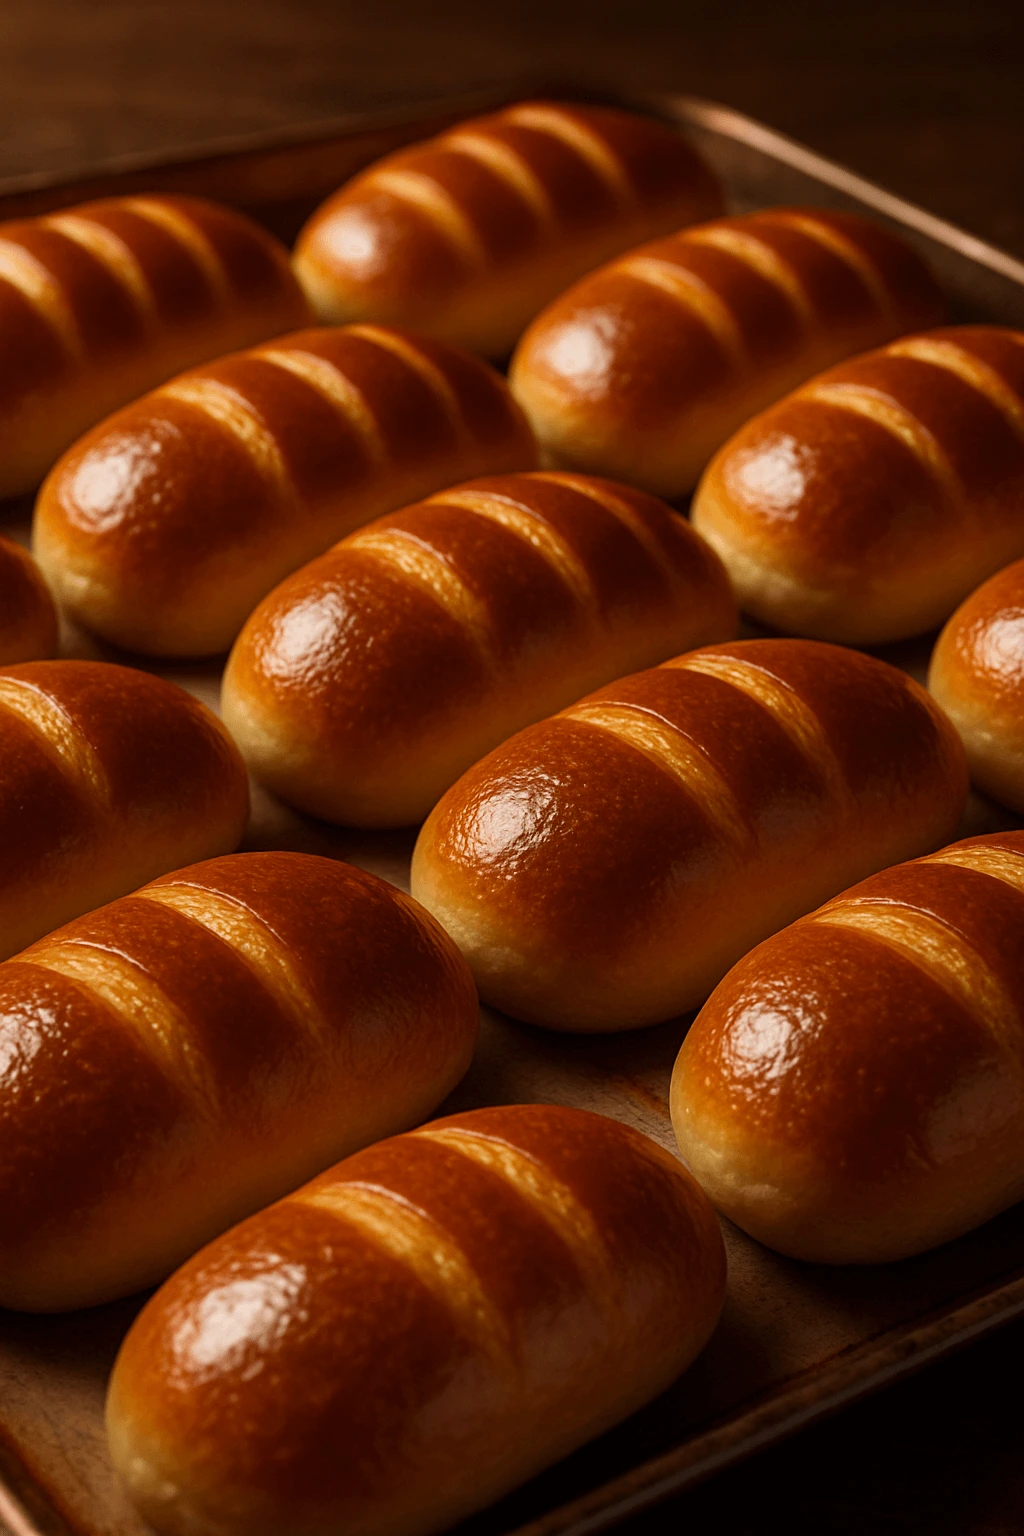
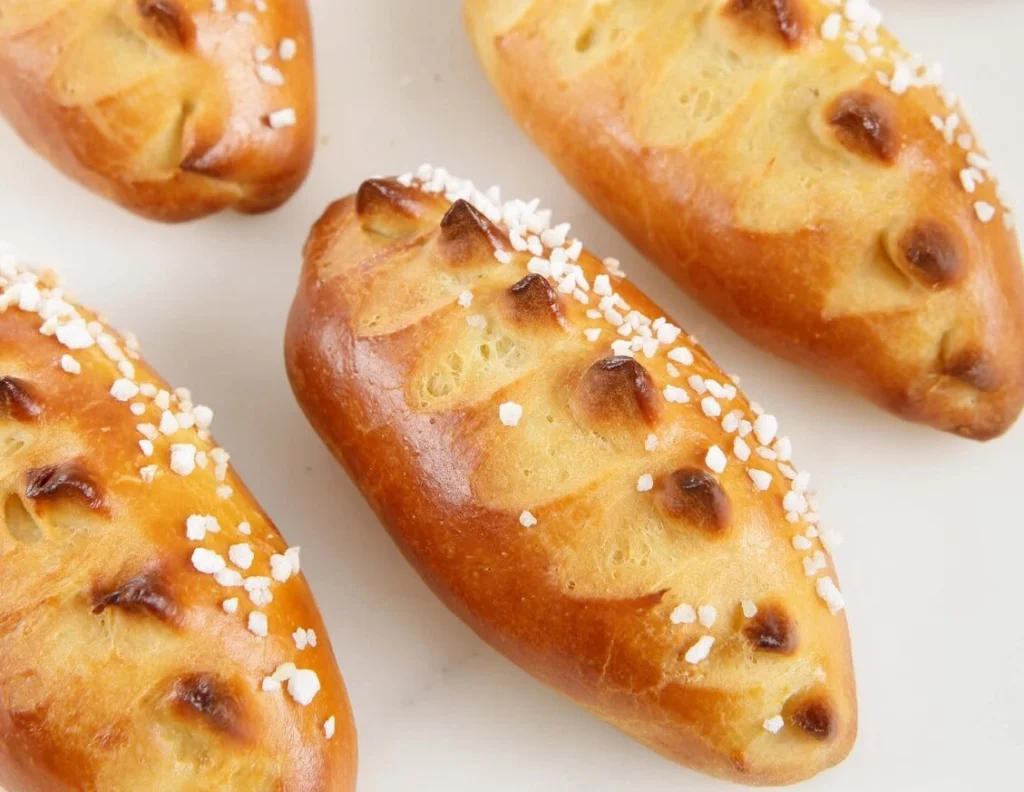
At first glance, a pain au lait may seem modest—gently scored across the top, baked to a flawless honeyed hue, and often nestled in a linen-lined basket. But from the first bite, it becomes clear: this is not just bread. This is a carefully balanced composition of texture and comfort, tradition and nostalgia.
The crumb is tender and airy, the crust impossibly fine and golden. Each roll seems to melt in the mouth, carrying hints of milk and sweetness that evoke memories of childhood breakfasts and cozy afternoons. Served plain, slathered with jam, or split and filled with chocolate sticks, pains au lait are as versatile as they are beloved.
Whether enjoyed at the kitchen table with warm coffee, packed into a schoolbag for a mid-morning snack, or presented on a brunch table beside fine butter and preserves, pains au lait belong to that rare category of bakes that feel both everyday and precious. They remind us that perfection doesn’t have to be loud—sometimes it’s as simple as a warm, pillowy roll shared with someone you love.Enriched Breads – Wikipedia
Classic Pains au Lait (French Milk Rolls)
Tender, golden, and delicately sweet – a timeless French bakery staple.
Yields:
- 30 navettes or 10 small milk rolls
Timing Overview:
- Preparation: 1 hour
- First proof (pointage): 50 minutes
- Final rise (pousse): 1 hour 30 minutes
- Baking: 6 minutes
- Shelf life: Best within 24 hours, stored in an airtight container
Equipment:
- Stand mixer with dough hook
- Bench scraper (dough cutter)
- Pastry brush
- Baking tray and parchment paper
Ingredients for Pains au Lait (for 30 navettes or 10 small rolls)
Dough:
- 250 g flour (preferably high-gluten, such as French “farine de gruau”)
- 10 g fresh yeast
- 5 g salt
- 30 g sugar
- 65 g eggs (about 1 whole egg + a bit)
- 75 g whole milk
- 65 g unsalted butter, softened
Egg Wash:
25 g whole milk
25 g whole egg
20 g egg yolk
Method – How to Make Pains au Lait
1. Frasage & Kneading
Begin by combining all ingredients except the butter in the bowl of a stand mixer fitted with a dough hook. Mix gently until the ingredients come together into a shaggy dough — this is the frasage phase.
Knead on low speed for about 10 minutes, until the dough becomes smooth and pulls away from the sides of the bowl.👉https://briochechic.com/crispy-caramelized-bliss6-secret-to-perfect-palmiers-revealed/#more-390
2. Incorporate the Butter
Scrape down the bowl using a dough scraper to ensure full integration, then gradually add the softened butter. Continue kneading until fully incorporated and the dough is supple, elastic, and slightly glossy.
3. First Proof (Pointage)
Transfer the dough onto a tray, cover it with plastic wrap or a damp cloth, and let it rest at room temperature (around 20°C / 68°F) for 45 minutes to 1 hour, until slightly puffed.
4. Degassing & Scaling
Gently flatten the dough to release trapped air.
Portion the dough according to your desired format:
- 15 g pieces for mini navettes
- 50 g pieces for small milk rolls
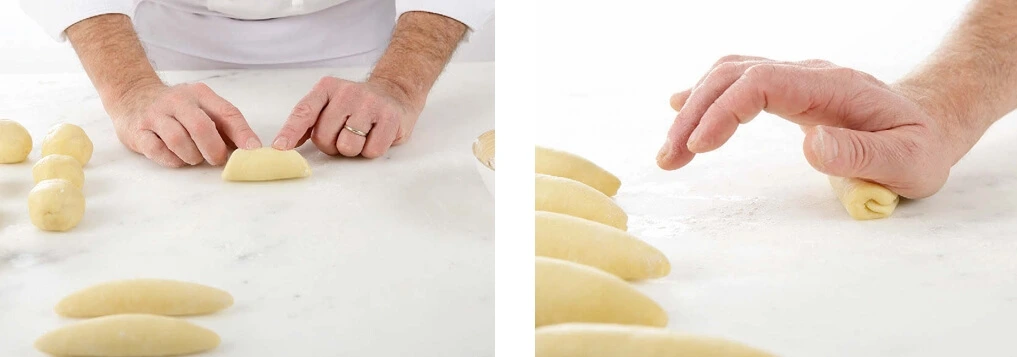
5. Shaping
Shape each piece into an oval or shuttle (navette) form by gently rolling and sealing the dough. Place the shaped pieces on a nonstick baking tray or a tray lined with parchment paper.
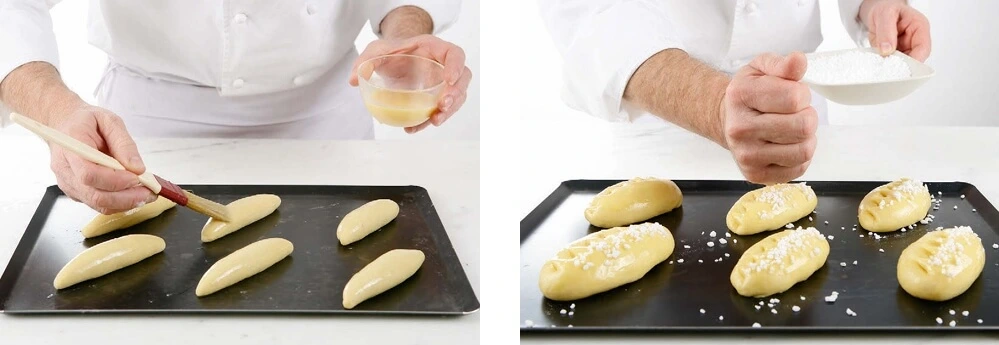
6. Egg Wash & Final Proof
Brush the rolls with a first layer of egg wash using a pastry brush.
Allow the shaped dough to proof for about 1 hour 30 minutes in a warm, humid environment:
- Ideally in a proofing chamber at 26°C (79°F)
- Alternatively, in a switched-off oven with a bowl of hot water inside
Chef’s Tips & Tricks
- Keep the dough moist during proofing:
During the final rise, place the shaped dough in a warm, humid environment (ideally between 25–30°C / 77–86°F) to prevent the surface from drying out. A switched-off oven with a bowl of steaming water works perfectly. - Make the dough in advance:
For better flavor and flexibility, the dough can be prepared the day before. After the initial proofing, cover it tightly and refrigerate overnight. Shape and proof as usual the next day — the cold fermentation will enhance both taste and texture.
Conclusion
Baking Soft Milk Rolls pains au lait is a quiet, patient process—one that rewards attention to detail and respect for the dough. These golden rolls, so simple in appearance, hold the essence of French bakery craft: softness, precision, and subtlety. From the gentle kneading to the delicate shaping, every step brings you closer to the perfect bite—light as air, delicately sweet, and melting on the tongue.
Whether served warm for breakfast with butter and jam, turned into elegant mini sandwiches, or simply enjoyed on their own, pains au lait add a touch of elegance to the everyday. Their versatility is matched only by their charm: adored by children, appreciated by adults, and endlessly adaptable to your personal style.
As with all viennoiseries, the magic lies not in complexity but in mastery of the basics. Learning to control proofing times, understand the dough’s texture, and apply a perfect egg wash is what transforms a home baker into an artisan. And once you’ve made these just once, you’ll find yourself returning to them again and again—not only for the result, but for the quiet joy of the process.
So the next time you crave comfort and refinement in a single bite, turn to the timeless pain au lait. Soft, golden, and handmade—this is baking at its most honest.
Frequently Asked Questions (Q&A)
Q: Can I use dry yeast instead of fresh yeast?
A: Yes. Replace the 10 g of fresh yeast with approximately 3.3 g of active dry yeast, and dissolve it in a bit of warm milk before incorporating.
Q: Why are my rolls not as soft as bakery ones?
A: It’s often due to overbaking or insufficient kneading. Be sure to bake only until pale golden, and knead long enough for gluten to develop properly.
Q: Can I prepare the dough the night before?
A: Absolutely. After the first proof, cover and refrigerate the dough overnight. The next morning, bring it to room temperature, shape, and continue with proofing.
Q: How can I make them sweeter or more buttery?
A: For a richer version, you can slightly increase the sugar or butter, but be cautious—too much fat may affect the dough’s strength.
Q: Can I freeze them?
A: Yes. Freeze after shaping (before proofing), or after baking and cooling. To reheat, warm gently in the oven at 150°C (300°F) for 5–7 minutes.