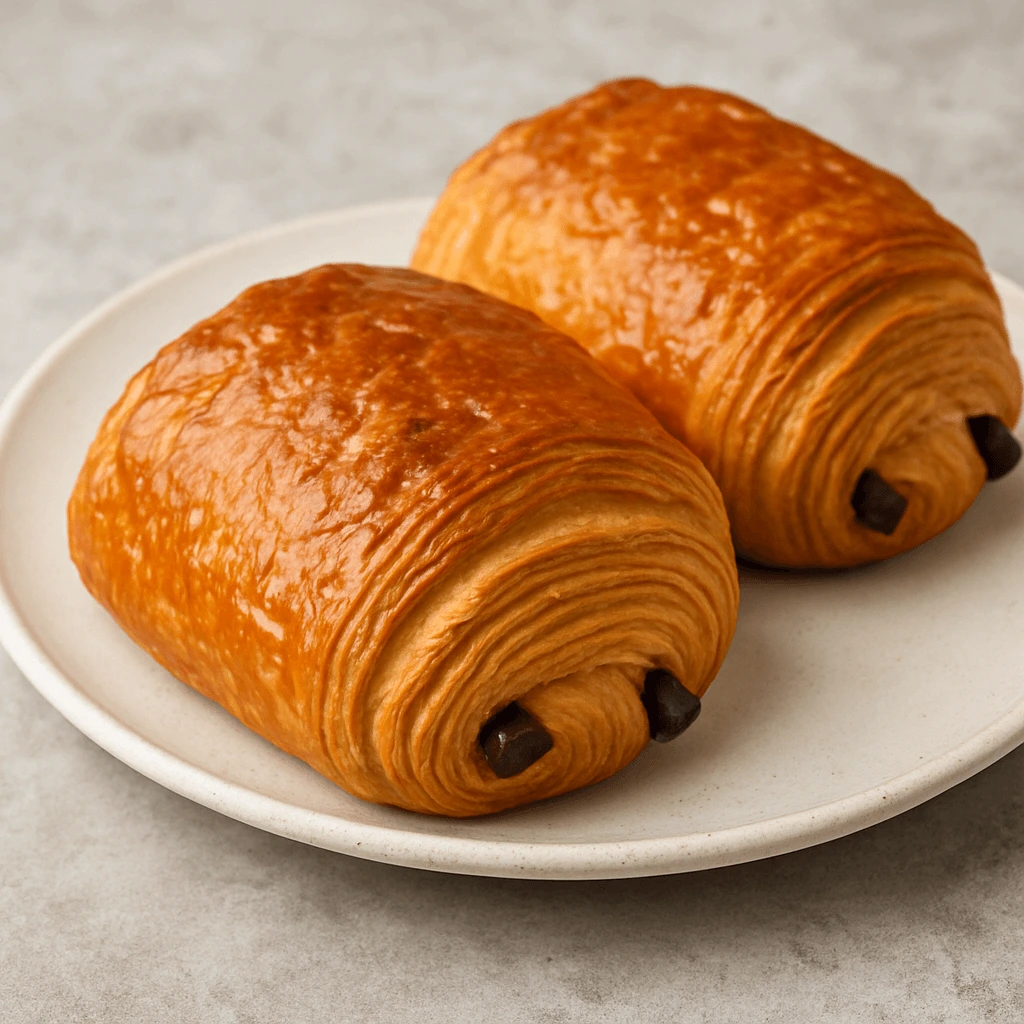
Pain au chocolat is one of the most iconic pastries in French baking, perfectly embodying the delightful union of melt-in-your-mouth chocolate and light, golden, flaky dough. If you’ve ever had a pain au chocolat fresh from the oven, you know how the combination of airy pastry and melting chocolate can be pure bliss. But why settle for store-bought when you can easily make this delicious treat at home with a simple recipe that will rival those from your favorite bakeries?
In this post, I’ll walk you through the secret to making perfect homemade pain au chocolat that’s every bit as good as what you’ll find in the best pastry shops. Forget about long hours of waiting or complicated techniques—here, you’ll learn a straightforward and quick method to create golden, flaky, and, of course, incredibly tasty pain au chocolat.
Why Make Pain au Chocolat at Home?
Making pain au chocolat at home is a true indulgence. Not only do you get to control the quality of the ingredients, but you also have the flexibility to customize every aspect of the recipe. Whether you prefer a smooth, rich dark chocolate or a sweet milk chocolate filling, the choice is yours. Plus, there’s something incredibly satisfying about pulling a perfectly baked pain au chocolat out of the oven and filling your kitchen with its irresistible scent.
The Perfect Puff Pastry for an Exquisite Result
The secret to a great pain au chocolat lies in the puff pastry. In this recipe, I’ll guide you step-by-step in making your own pastry dough. However, if you’re in a rush, you can always use store-bought puff pastry, and it will still yield great results. We’ll cover how, by working with the dough, you can create those beautiful, flaky layers that, when baked, will give you that signature light and crisp texture we all love.
Key Ingredients for the Perfect Dough
To make homemade pain au chocolat, you’ll need a few essential ingredients: flour, butter, sugar, milk, yeast, and of course, high-quality chocolate. The chocolate is the star of the show here, so choose a bar of dark or milk chocolate that you particularly enjoy. You can also get creative by adding nuts like hazelnuts or almonds, or even a touch of candied orange peel for a delightful twist.
An Easy and Effective Method for a Perfect Result
While making puff pastry from scratch requires a bit of technique, don’t worry! I’ll share all the tips and tricks you need to make each step as simple as possible. From mixing the ingredients to letting the dough rest, and from shaping the pain au chocolat to baking them, you’ll be guided through the process to avoid common pitfalls and achieve that perfect pastry.
The most rewarding moment? When you pull your pain au chocolat from the oven, golden and crisp, with the chocolate inside still soft and melted. It’s a visual and gustatory treat that will impress everyone at the table.
Chef’s Tips for Perfect Homemade Pain au Chocolat 1:
- To ensure your pain au chocolat comes out just right, I’ll also share some professional tips. You’ll learn how to roll the dough to get the perfect shape, how to achieve that golden, shiny finish, and how to avoid issues like dough tearing or chocolate spilling over during baking.
Ingredients for Croissant Dough (for 6 pain au chocolat)
Ingredients for Egg Wash:
- 50 g of whole egg
- 50 g of egg yolks
- 50 g of whole milk
Other Ingredients:
- 400 g of croissant dough (you can make it from scratch using a specific croissant dough recipe or buy pre-made dough)
If you want to make the croissant dough yourself, here is a basic recipe:
Ingredients for the Croissant Dough (Base):
- 500 g of all-purpose flour (type 55)
- 10 g of salt
- 40 g of sugar
- 20 g of fresh yeast
- 300 ml of whole milk
- 30 g of melted butter
- 200 g of cold butter (for laminating)
Steps:
- Mix the Ingredients: In a stand mixer, combine the flour, salt, sugar, and crumbled yeast. Gradually add the warm milk and melted butter, and knead until the dough is smooth and homogeneous.
- First Rise: Let the dough rest at room temperature for about 1 hour or until it doubles in size.
- Incorporate the Butter for Laminating: Roll the dough into a rectangle, place the cold butter in the center, and fold the dough around it to enclose the butter. Perform several turns (fold and roll) while allowing the dough to rest between each turn (about 30 minutes). This process creates the flaky layers in the dough.
- Rest and Final Rise: Let the dough rest between each turn and repeat the folding and rolling process 3 to 4 times.
- 12 sticks of chocolate (or chocolate bars, depending on your preference)
Equipment Needed:
- Stand mixer
- Whisk
- Dough scraper (for cutting and handling the dough)
- Rolling pin
- Pastry brush (for applying the egg wash)
Shaping and Baking the Pain au Chocolat
- Roll out the dough to a thickness of 4 mm. Cut it into rectangles measuring 9 cm × 15 cm.
- Place one stick of chocolate on each rectangle.
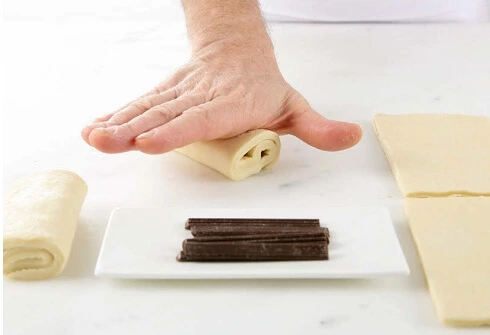
- Roll the dough once over the chocolate, then place a second stick of chocolate on top.
- Finish rolling the dough all the way up. Using the palm of your hand, gently press down on each pain au chocolat to seal the seam firmly in the center.
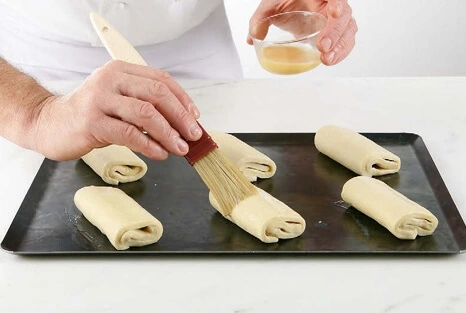
- Place the rolled pains au chocolat onto a non-stick baking tray.
- Brush them lightly with the egg wash using a pastry brush.
- Let them proof for about 2 hours in a proofing chamber (or in an off oven with a bowl of boiling water inside) at 26°C (78.8°F).
- The pains au chocolat should double in volume.
- Brush them again very gently with the egg wash.
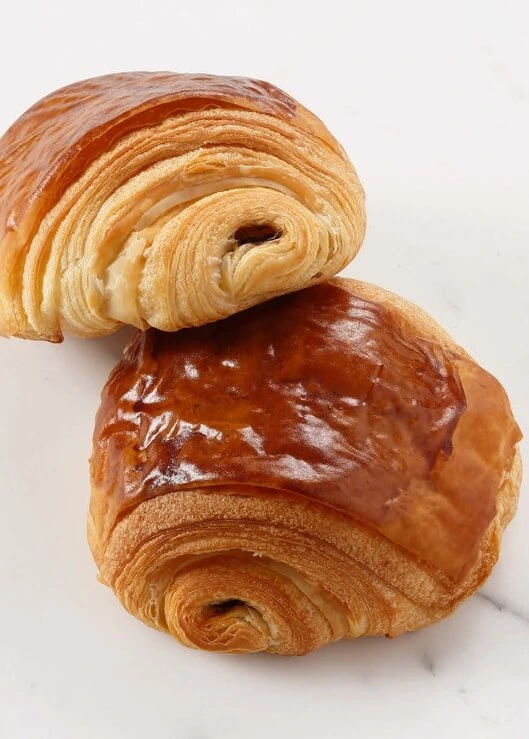
- Bake in a ventilated (fan) oven at 165°C (329°F) for 14 to 16 minutes, until beautifully golden and flaky.
Chef’s Tips and Tricks 2:
- During proofing, make sure the temperature does not exceed 29–30°C (84–86°F), to prevent the butter from melting inside the dough.
- Before baking, chill the pains au chocolat in the refrigerator for a few minutes. This will help the dough firm up and hold its shape beautifully during baking.
Conclusion
Making your own pain au chocolat at home is a rewarding experience that brings the authentic taste of French pastry right to your kitchen. By carefully preparing your croissant dough, respecting the resting and proofing times, and mastering the gentle baking techniques, you can create flaky, golden, melt-in-your-mouth pains au chocolat that rival the best bakery versions.
From the delicate layering of the dough to the perfect incorporation of rich, luscious chocolate, every step contributes to creating a pastry that is both a joy to make and a delight to eat. Whether for a cozy weekend breakfast, a brunch with friends, or simply to indulge your love for pastry, homemade pain au chocolat is always a brilliant idea.
Remember, the beauty of baking at home is that you can tweak the recipe to suit your preferences—experiment with different chocolates, add a hint of orange zest, or even try variations with hazelnut spreads for a delicious twist. With practice and passion, each batch will be better than the last!
Now that you have all the tools and tips in hand, it’s time to roll up your sleeves and get baking. Trust the process, enjoy the craft, and savor every flaky, chocolatey bite of your homemade pains au chocolat!
Frequently Asked Questions (FAQ)
Can I use store-bought puff pastry instead of homemade croissant dough?
Yes, you can! If you’re short on time, a good quality store-bought puff pastry can work. However, traditional croissant dough gives a much richer, more buttery flavor and a lighter, flakier texture that’s closer to authentic bakery pains au chocolat.
Why is it important not to proof above 30°C?
Because butter starts melting around 29–30°C. If the butter melts during proofing, the layers of the dough will collapse, and you’ll lose the beautiful flakiness that defines a perfect pain au chocolat.
How do I know when my dough is properly proofed?
After proofing, the pains au chocolat should be visibly puffed up and almost doubled in size. When you gently press a finger on the dough, the indentation should slowly bounce back. If it springs back too quickly, it needs a little more time.
Can I freeze the unbaked pains au chocolat?
Absolutely! After shaping but before proofing, you can freeze them on a baking sheet. Once frozen solid, transfer them to an airtight container or bag. When ready to bake, thaw them overnight in the fridge, let them proof, and then bake as usual.
What kind of chocolate is best for pain au chocolat?
Traditionally, batons of semi-sweet or dark chocolate (around 55–65% cacao) are used. You can also use milk chocolate if you prefer a sweeter pastry. Make sure to choose good-quality chocolate for the best flavor.
Why chill the pains au chocolat before baking?
Chilling helps the dough firm up, ensuring sharper, cleaner layers and preventing the butter from leaking out during baking. It also helps create an even, beautiful rise in the oven.
Can I add flavors or fillings to the traditional recipe?
Of course! While the classic version is simply chocolate, you can get creative by adding a bit of orange zest to the dough, sprinkling chopped nuts with the chocolate, or even using flavored chocolates for a fun twist